Breakout Rooms can be used to enhance collaboration and facilitate discussion within a class by splitting off students into smaller groups within a Zoom call. To create Breakout Rooms in a Zoom call, click the “Breakout Rooms” icon located on the bottom toolbar, and then state how many rooms should be made.
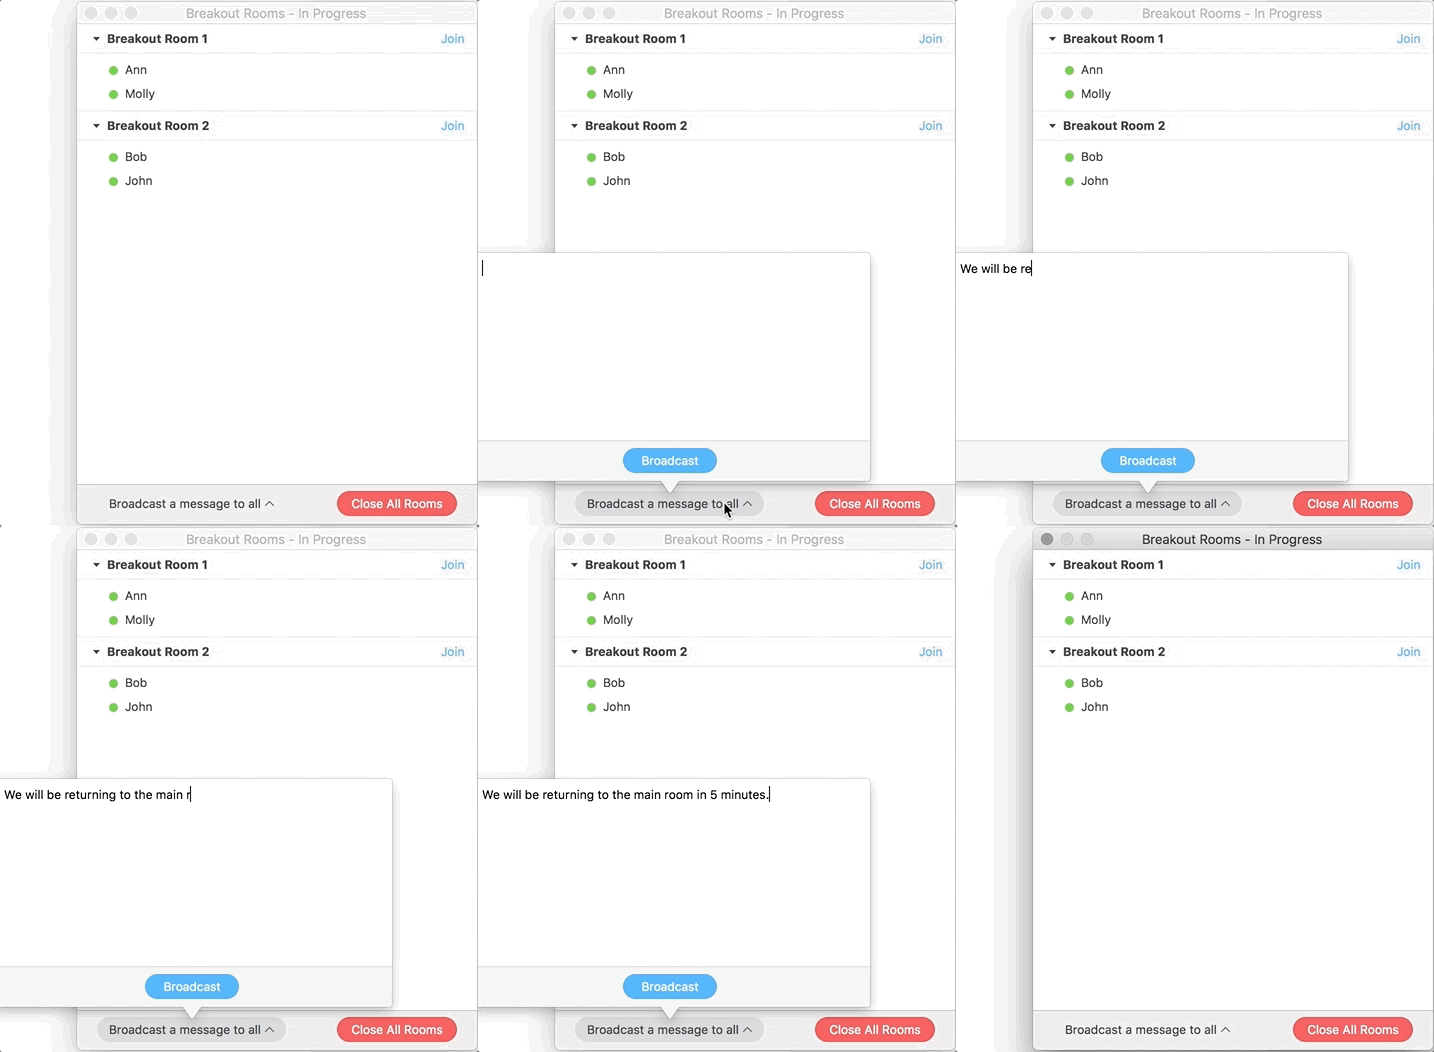
Once the Breakout Rooms have been created, instructors have the option of joining different Breakout Rooms to attend to smaller groups of students by clicking on the “Join” button beside each respective Breakout Room. Students in breakout rooms will no longer be able to see your slides. You may wish to broadcast a message, question or discussion provocation to all breakout room participants using the “Broadcast a message to all” feature.
Breakout Rooms can be set up prior to a class, which is useful if an instructor has specific student groups in mind. If Breakout Rooms are set up in advance, the rooms will be available after clicking the Breakout Room button in the meeting (learn more here).
Instructors may want the option to allow students to choose their own Breakout Rooms, which can be done by selecting “Allow participants to choose room” after launching the Breakout Room feature in the meeting (note that students need to have updated their Zoom application after Sept. 21, 2020).
Learn More
- Teaching with Zoom – Lessons From Schulich Instructors
- Jane-Michele Clark on Encouraging Students to Deliver Presentations Online
- Schulich Zoom FAQ
- How To Download And Install Zoom
- How To Use Zoom for Lectures Through Canvas
- How To Use Breakout Rooms: Getting Started
- How to Manage Breakout Rooms
- Pre-Assigning Breakout Rooms in Zoom


